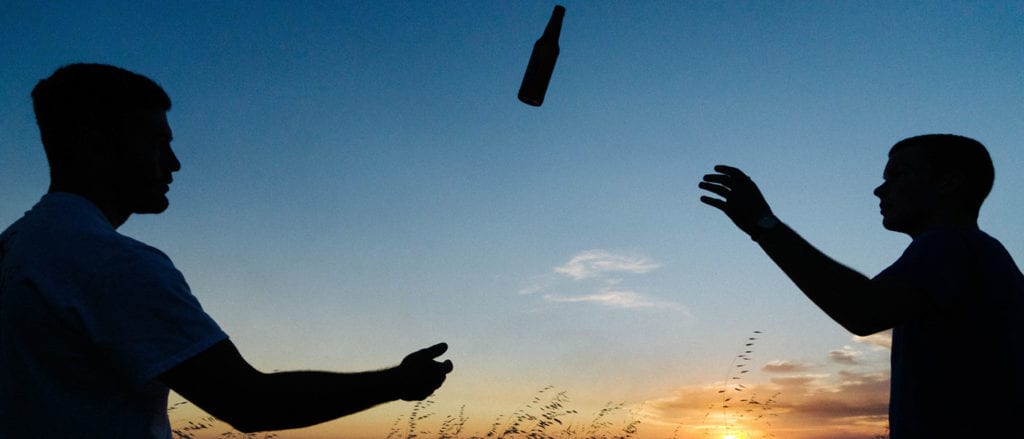
I love cooking because cooking means I get to eat. I love eating more than sleeping, shopping, etcetera, etcetera. Eating is fun, eating is life, even when I hike and camp. I can develop a very serious condition which is commonly referred to as “hangry” easily so it’s vital that my meals during trips be well planned and easy to get going. One of the ways I tempt my friends and family to go camping with me is with my campfire cooking and I’ve found that cooking a comforting hearty meal is what convinces them to return camping with me again and again. I mean, yes there is always the beer but let’s just focus on the food today.
Tip #1 – Planning Is Key. Find Simple, Yet Filling, Recipes To Make
First I begin by trying to making the cooking easier on myself, and quicker to get something on for my special guests by planning and preparing in advance. Plan a meal you love but be realistic and make it as easy on yourself as you can. Ask yourself, is this something my guests can eat easily around the fire? Are the portion sizes large enough after a day on the trail? How can you pre-prep your meal to make it easier to throw everything into a single pot? Oh yea, that’s right. While camping you usually only have space for one or two pots so your entire meal will need to be able to fit in those. Think of how you can best condense your master plan into a single pot.
 Recently while on vacation in Arizona I wanted to make Shepherd’s Pie. I love a good mashed potato and cheese combination. I quickly realized that cooking the potatoes in one pan and then the meat and veggies combination in another could be done but would be a complete pain considering our remote site, so I changed the meal plan to Jambalaya instead. This recipe was much simpler, calling for a box of cajun rice, peppers & onions, sausage, and chicken. I threw everything into my cast iron skillet and managed to still serve a hearty and filling meal.
Tip #2 – Have A Friend Tend To The Fire While You Work
The hardest part about cooking outdoors will be maintaining a steady heat source to cook your meal. On my first car camping trip, I arrived at the site before everyone else. I wanted to cook dinner before they arrived so I built my fire and began to prep my food packets (aluminum foil packets filled with shrimp, sausages, and veggies) for the grill. My first mistake was not prepping the packets the night before. I could have cut down on my prep time by pre-making each packet so that they could be taken out of the cooler and placed on the grill.
 My second mistake was not building my fire properly. I did not place enough kindling in the fire before I lit it, so it kept dying out. I was running around like a crazy person, breaking down kindling, relighting the fire and prepping my food. By the time my group arrived some 2 hours later the food was STILL cooking. So when you can, have a friend tend the fire while you cook, you will be a lot less exhausted after the meal is finished.
Tip #3 – Be Patient, Pay Attention, & Get Creative.
Keep in mind that your food will sometimes take twice as long to cook over a fire than it will at home. Always pack quick snacks to eat so that you aren’t completely starving while you cook. Especially if you’re cooking after a long day of hiking. You will get impatient and risk making more mistakes if you are distracted by a rumbling stomach. Pay attention to your food on the grill while you work. You will almost always begin any campfire meal by boiling water and if you’re not careful, then your fire will die down before it reaches its boiling point. Which can mean you almost have to start the process again from the beginning if you don’t mind the pot and stay on top of it. You should always bring a lid that fits your pan to cover your food to utilize the trapped heat to speed the process along.
Pro-tip: If I’m making rice, I will buy the pre cooked Uncle Ben’s rice that heats up quickly in a skillet. If I can’t find a rice packet that fits my meal I will use my percolator to speed up the boiling of the rice.
 Cooking outdoors is a learning process, but it can be fun if you are patient with yourself and prepare in advance. Next time you go out, try to cook something you’ve never made before and be sure to come back to the comments below and let us know how it turned out! Don’t be discouraged if it doesn’t come out perfectly as it’s all part of the journey and even a half-burnt meal will taste like world-class dining after a day on the trail!
My Chili Recipe (12 Servings)
The recipe calls for 12 Servings but 5 people (3 adult women and two little girls) managed to eat it ALL in about 20 minutes. Hiking during the day will make your campmates extra hungry, so keep that in mind.
Ingredients & Food Prep Tips
- 1 pound of ground beef (double bag your meat in 2 ziplocks to keep the blood from leaking on other items in your cooler…eww)
- 1½ tablespoons canola oil, divided
- Salt & freshly ground pepper, to taste
- ¼ cup chopped fresh cilantro
- 2 tablespoons lime juice ( just bought 2 fresh limes and squeezed them to make juice)
- 12 ounces dark or light beer
Start by combining all of your seasonings in one container to make it easier and cut down on things to pack. I combined the following ingredients together in a salt shaker from my mess kit:
- 2 tablespoons ground cumin
- 2 tablespoons chili powder
- 1 tablespoon paprika
- 2 teaspoons dried oregano
- 2 bay leaves
Pre-chop the following items the night before your trip and store them in a bag together in the fridge:
- 1 green bell pepper, seeded and chopped
- 3 onions, chopped
- 1 red bell pepper, seeded and chopped
- 6 cloves garlic, minced
- 2 jalapeno peppers, seeded and finely chopped (optional)
I also placed the following items in their own plastic bag to cut the trash and weight of aluminum cans:
- 1 28-ounce can diced tomatoes
- 3 19-ounce cans dark kidney beans, rinsed
(Note: I always save my plastic ziplock bags to wash and reuse. I find that I use common ingredients in most of my meals. So I simply label the bags, wash and reuse them for that item if the next recipe calls for it. Remember to label! That will help keep you from using the wrong bag and your peanut butter sandwich from tasting like onions.)
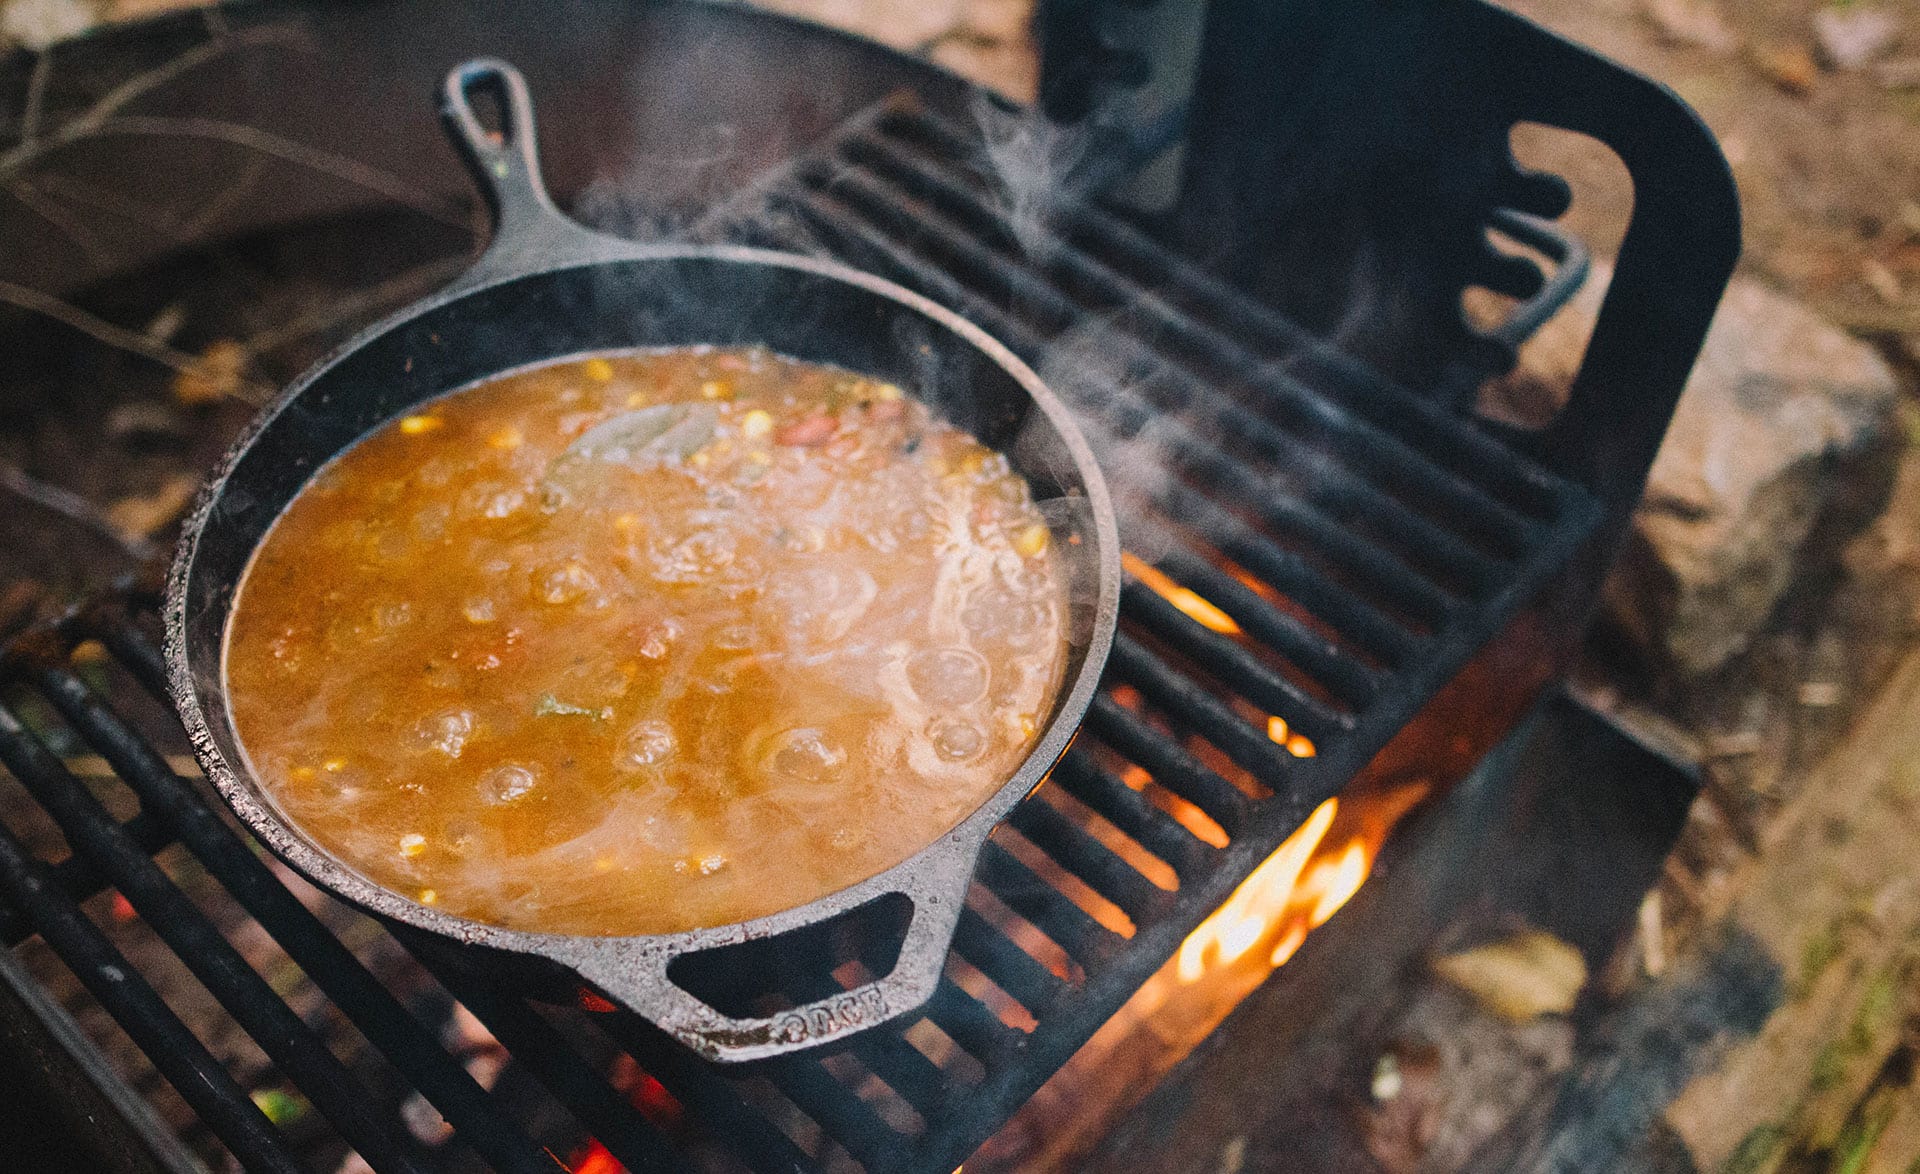
- Heat 1½ teaspoons oil in a Dutch oven over a small fire or hot coals. I recommend using a deep cast iron skillet with a lid to make sure you meat is cooked evenly.
- Add all of your chopped veggies; cook, stirring frequently, until onions are soft and golden, 10 to 15 minutes*.
- Add beef to pot and season with salt and pepper while stirring occasionally, until browned, 10 to 15 minutes*.
- Next add your jalapenos & pre-mixed seasonings to the pot (garlic, cumin, chili powder, paprika and oregano) Stir until aromatic, about 4 minutes*.
- Add beer and simmer, scraping up any browned bits, for about 3 minutes. Add the beans, diced tomatoes, bay leaves and reserved beef. Cover and simmer, stirring occasionally, until ingredients are well cooked, 1 to 1 1/2 hours*. (I made sure to always keep my chili at a slight rolling boil the entire time it cooked to ensure it was cooking at a safe temperature. Be sure to keep an eye on your pot.)
- Once the chili is well cooked and piping hot throughout remove from fire and take out the bay leaves. Stir in cilantro and lime juice. Adjust seasoning with salt and pepper.
- (Optional) Throw a handful of cheddar cheese and a dollop of sour cream on top of each bowl before passing meals out to your hungry hikers.
ENJOY!
*Please remember that cook times will vary depending on the size of your fire, elevation and the current weather. These times are how long it took my meal to finish in the Georgia mountains at a moderate elevation on a warm and clear night. Always be sure that your ground beef reaches the minimum safe temperature of 160 Degrees. Nobody wants food poisoning on the trail. If you aren’t sure the food is done, let it cook a bit longer to be sure. This meal won’t dry out, it’s better to be safe than sorry.